
2.0 KiB
Connect an Apple iOS device to your Bubble VPN
-
On another device (not your iPhone or iPad):
- Login to your Bubble
- Navigate to the Devices screen
- In the “Add Device” section, enter a name for your iOS device and click or tap the “Add” button to add it.
- Click or tap “Show VPN connection info” for your iOS device. A QR code will appear.
-
Using your iPhone or iPad:
-
Install the WireGuard App from the Apple App Store
-
Open the WireGuard app
-
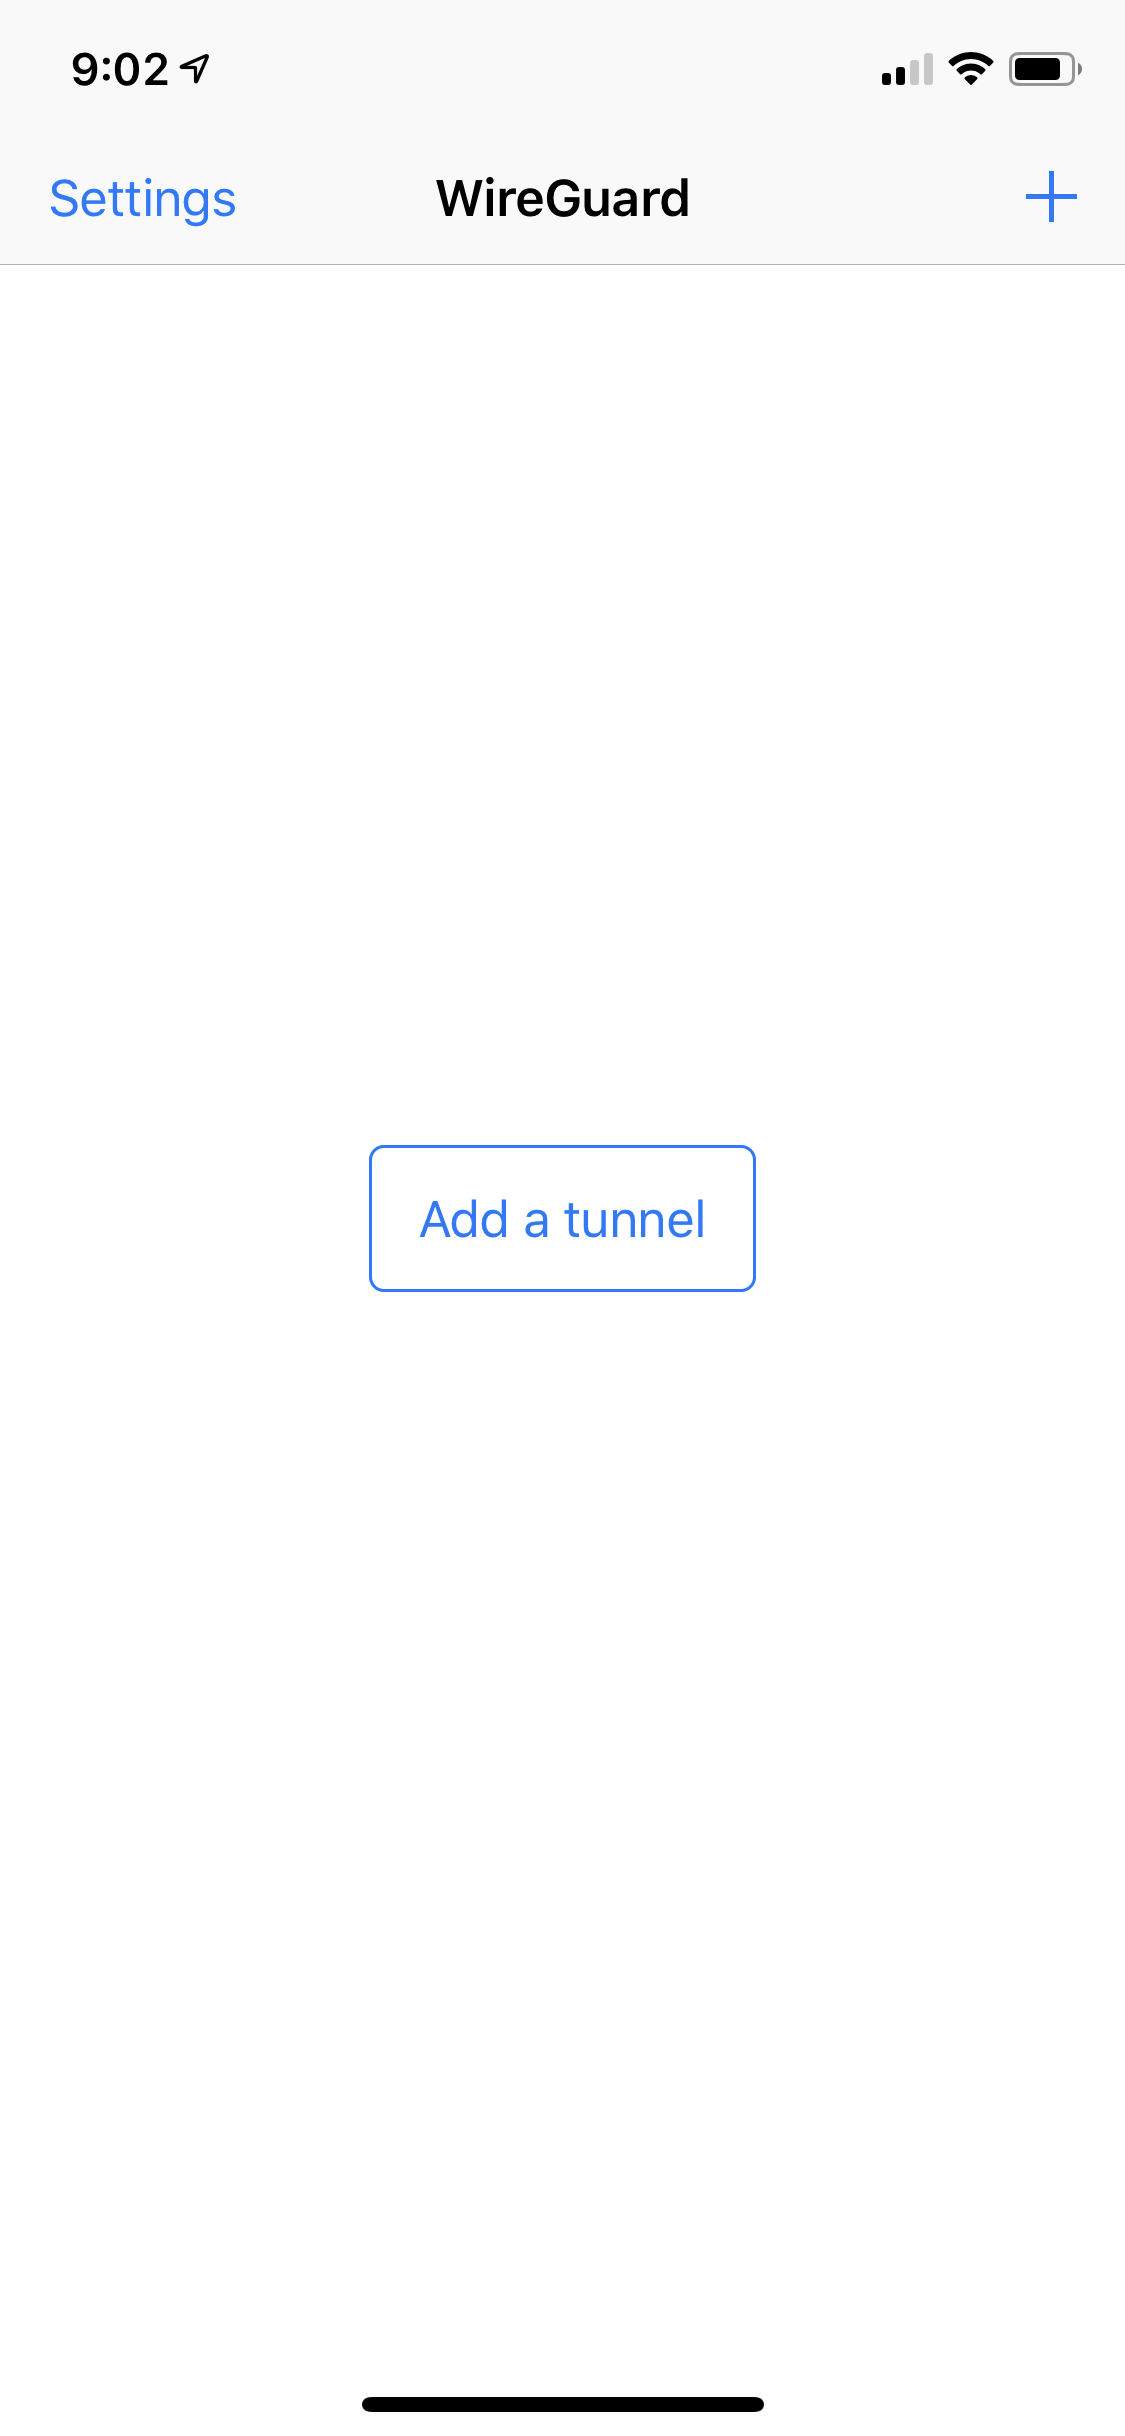
In the WireGuard app. You should see a screen like the one shown below. Tap “Add a tunnel”. If you don’t see “Add a tunnel”, tap the Plus icon (+) in the top-right corner of the screen.
-
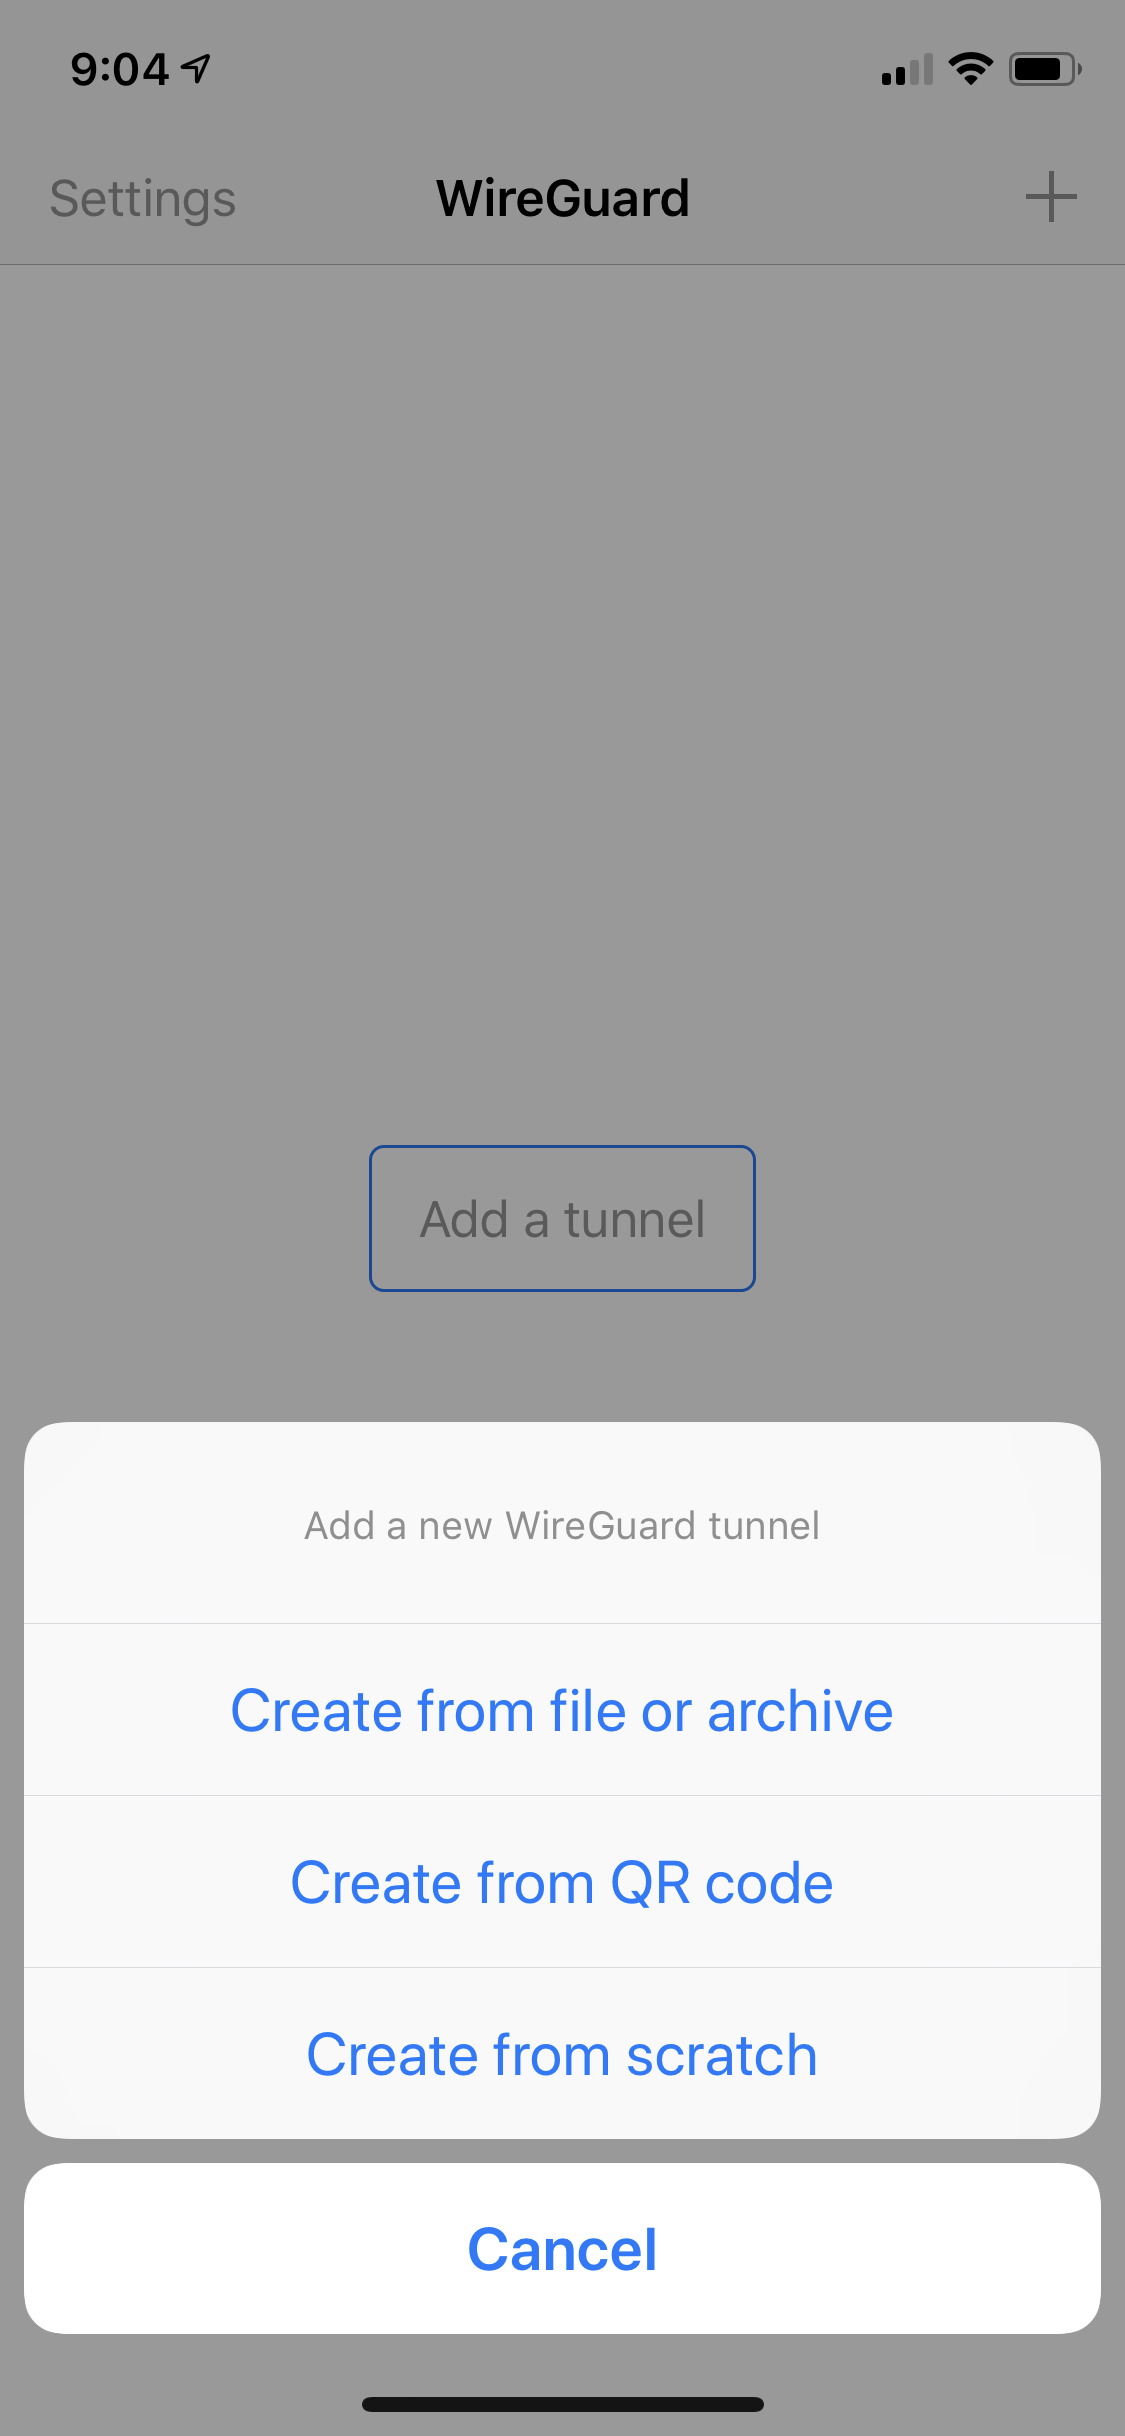
After you tap “Add a tunnel”, you should see some buttons appear at the bottom of your screen, as shown below. Tap “Create from QR code”
-
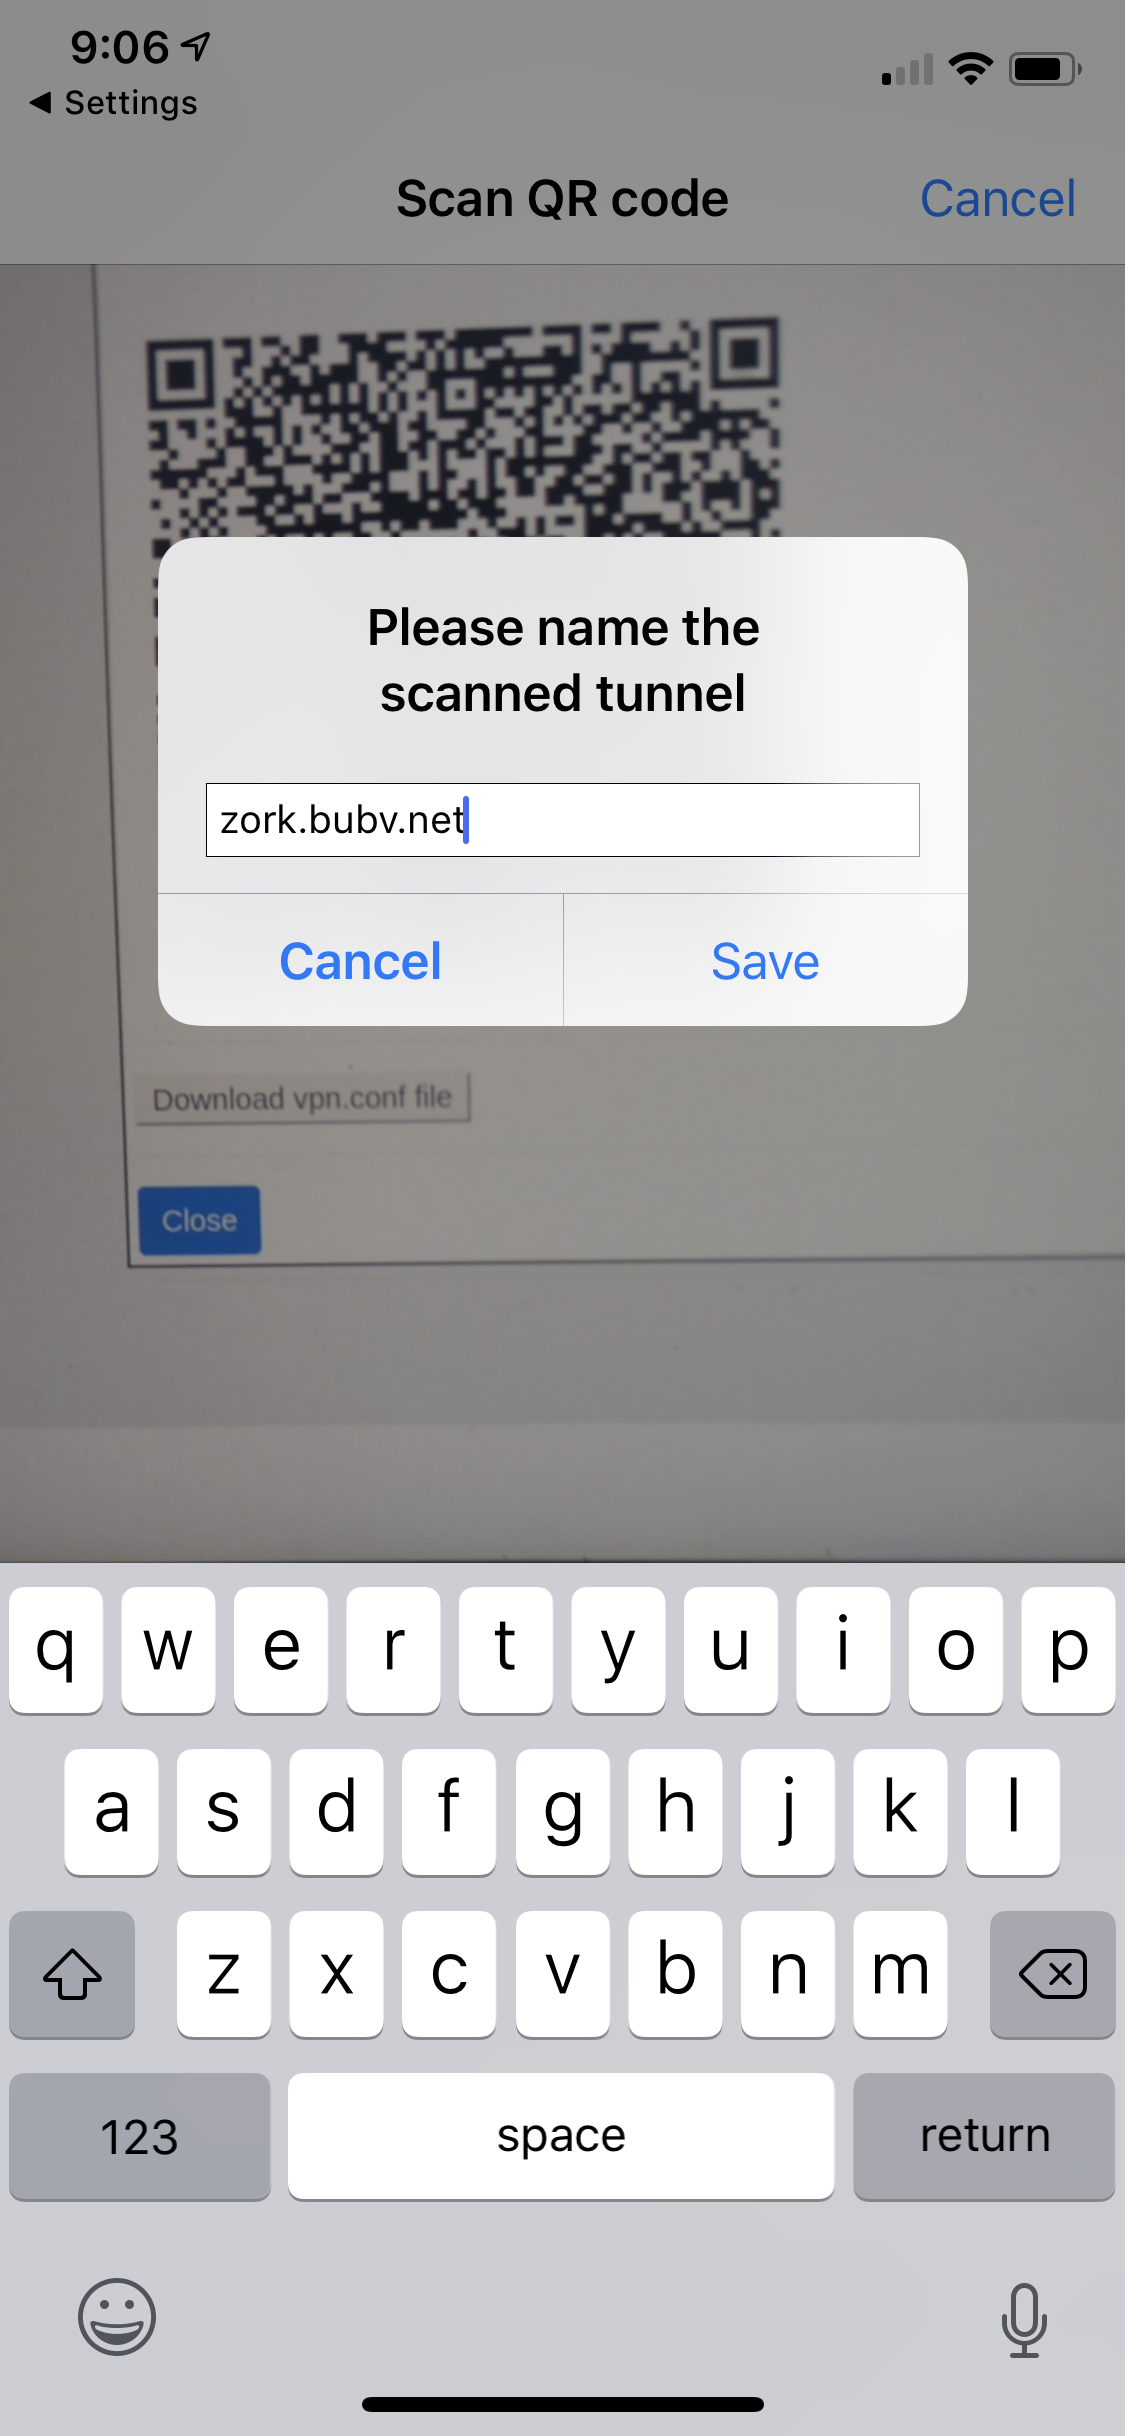
A camera view will open. Scan the QR code shown on your other device. You’ll be asked to provide a name for the tunnel. You can choose anything, but it’s probably easiest to use the name of your Bubble. See the screenshot below for an example.
-
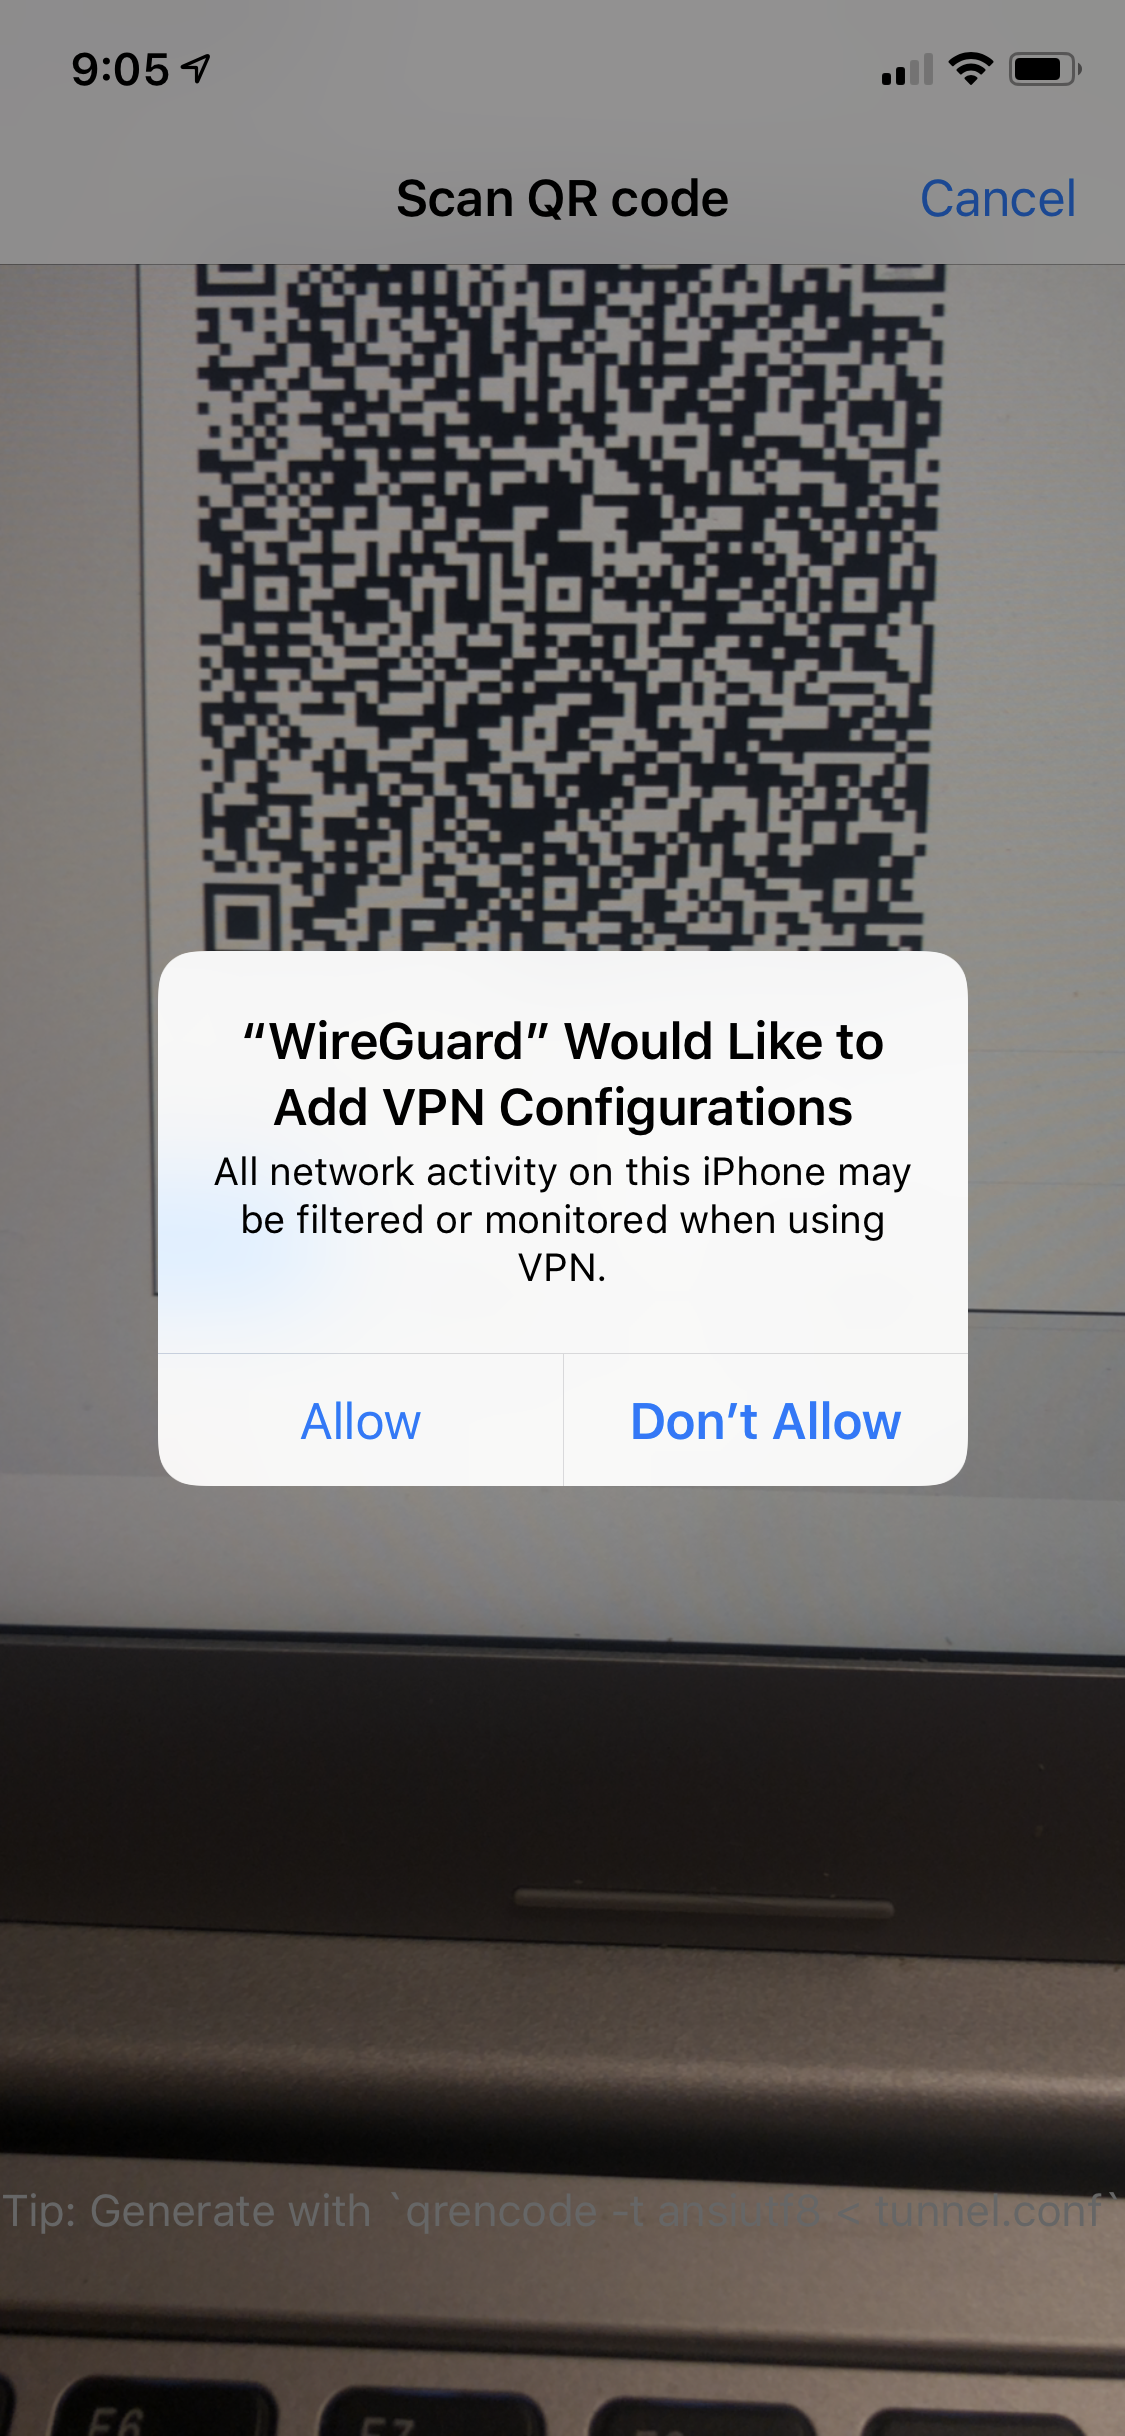
You’ll now see a pop-up titled “WireGuard Would Like to Add VPN Configurations”, like the screenshot shown below. Tap “Allow” and then enter your passcode.
-
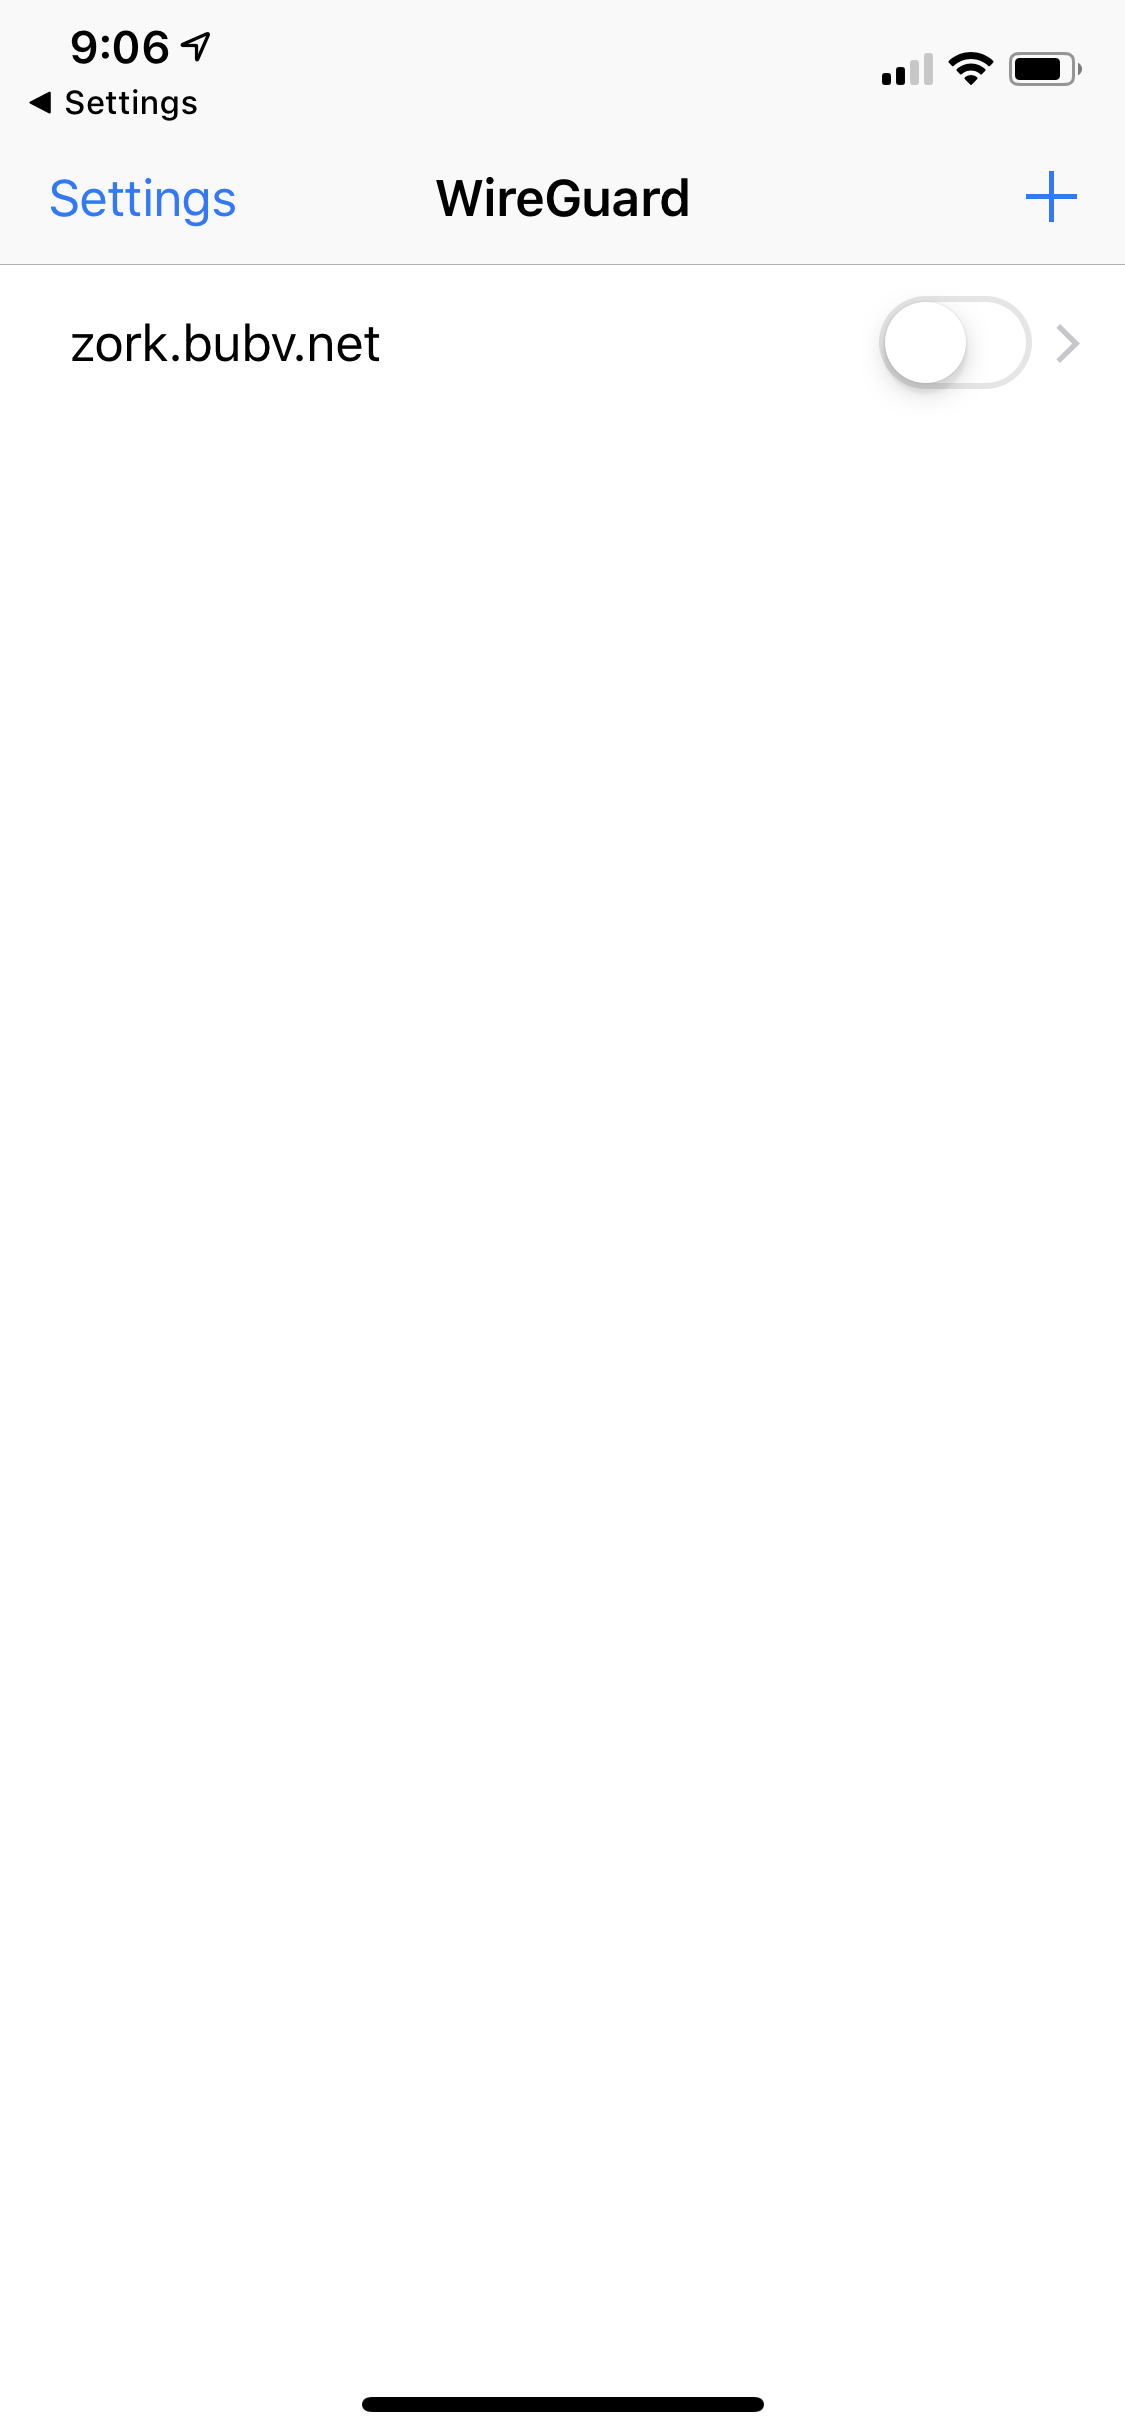
You’ll now see your VPN connection listed, as shown below. Tap the toggle switch to turn it on.
-
Congratulations! You are now connected to your Bubble’s VPN!
-